DIY Pool Tile Blasting: What You Need to Know Before Starting


Understanding DIY Pool Tile Blasting
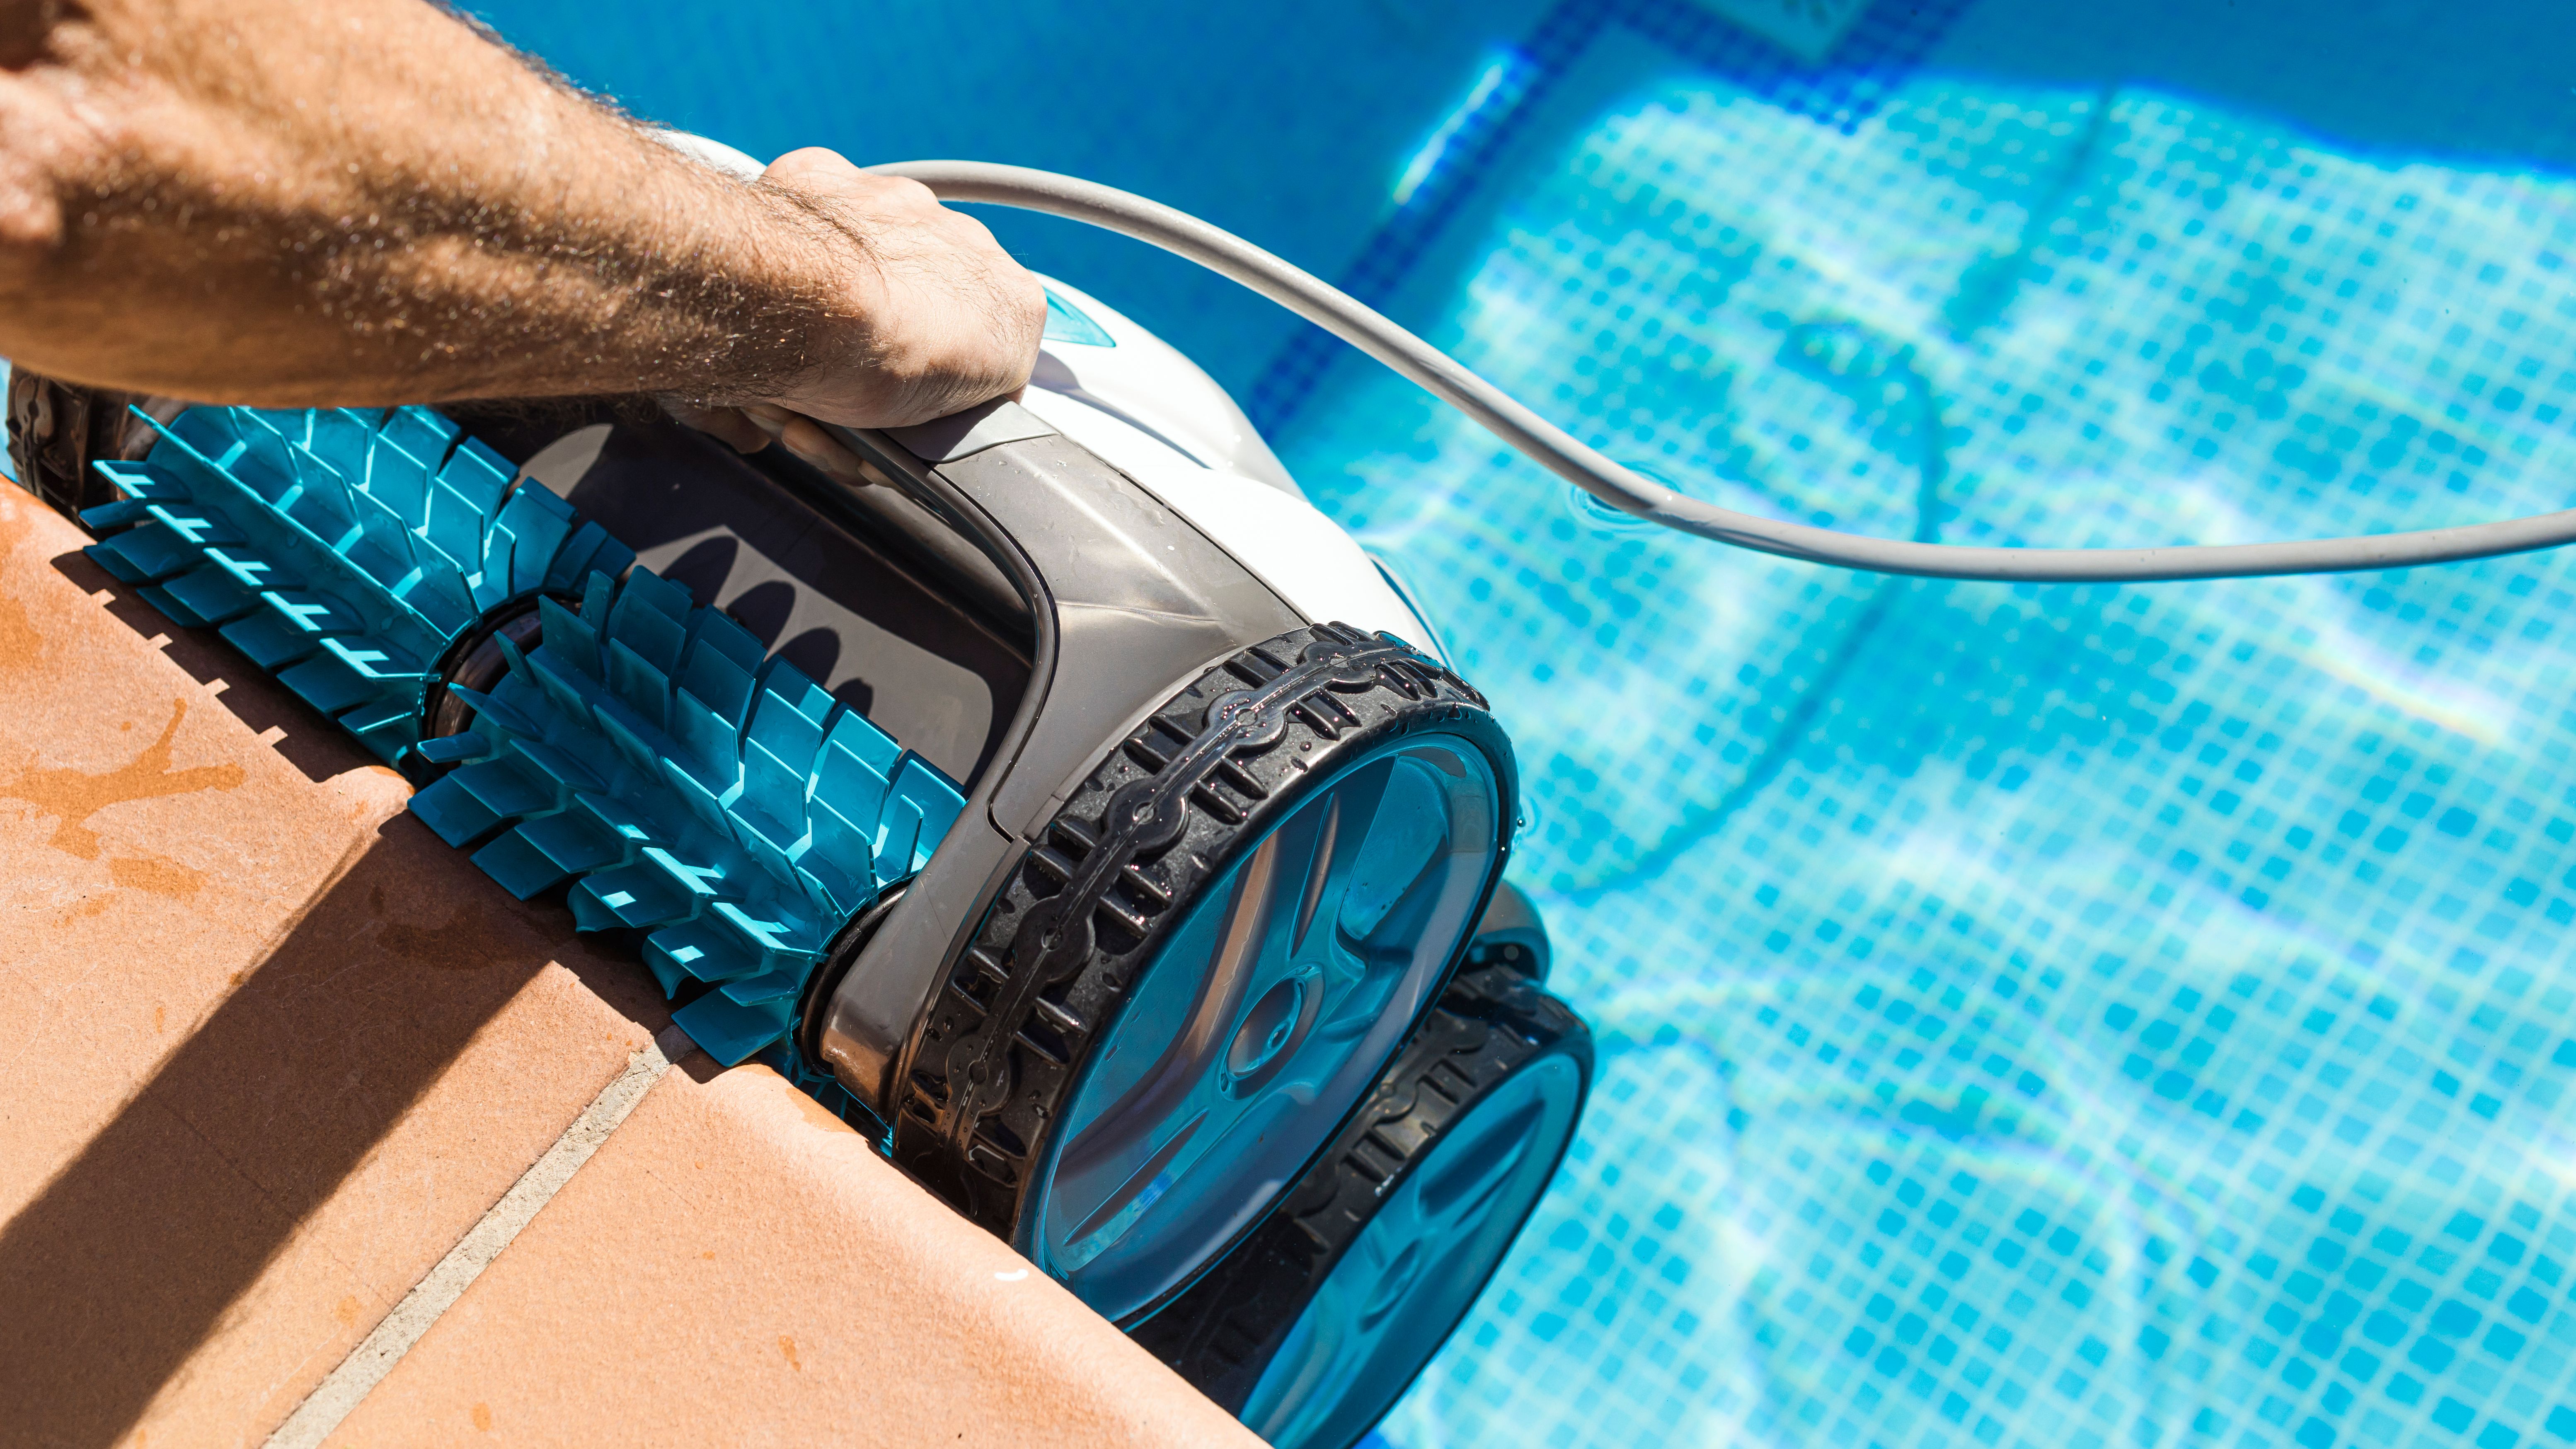
Pool tile blasting is an effective way to clean and restore the appearance of your swimming pool. It involves using specialized equipment to remove calcium deposits, algae, and other unwanted substances from the tiles. While professional services are available, many homeowners opt for a DIY approach to save on costs. However, before you dive into the task, it's essential to understand the process and prepare adequately.
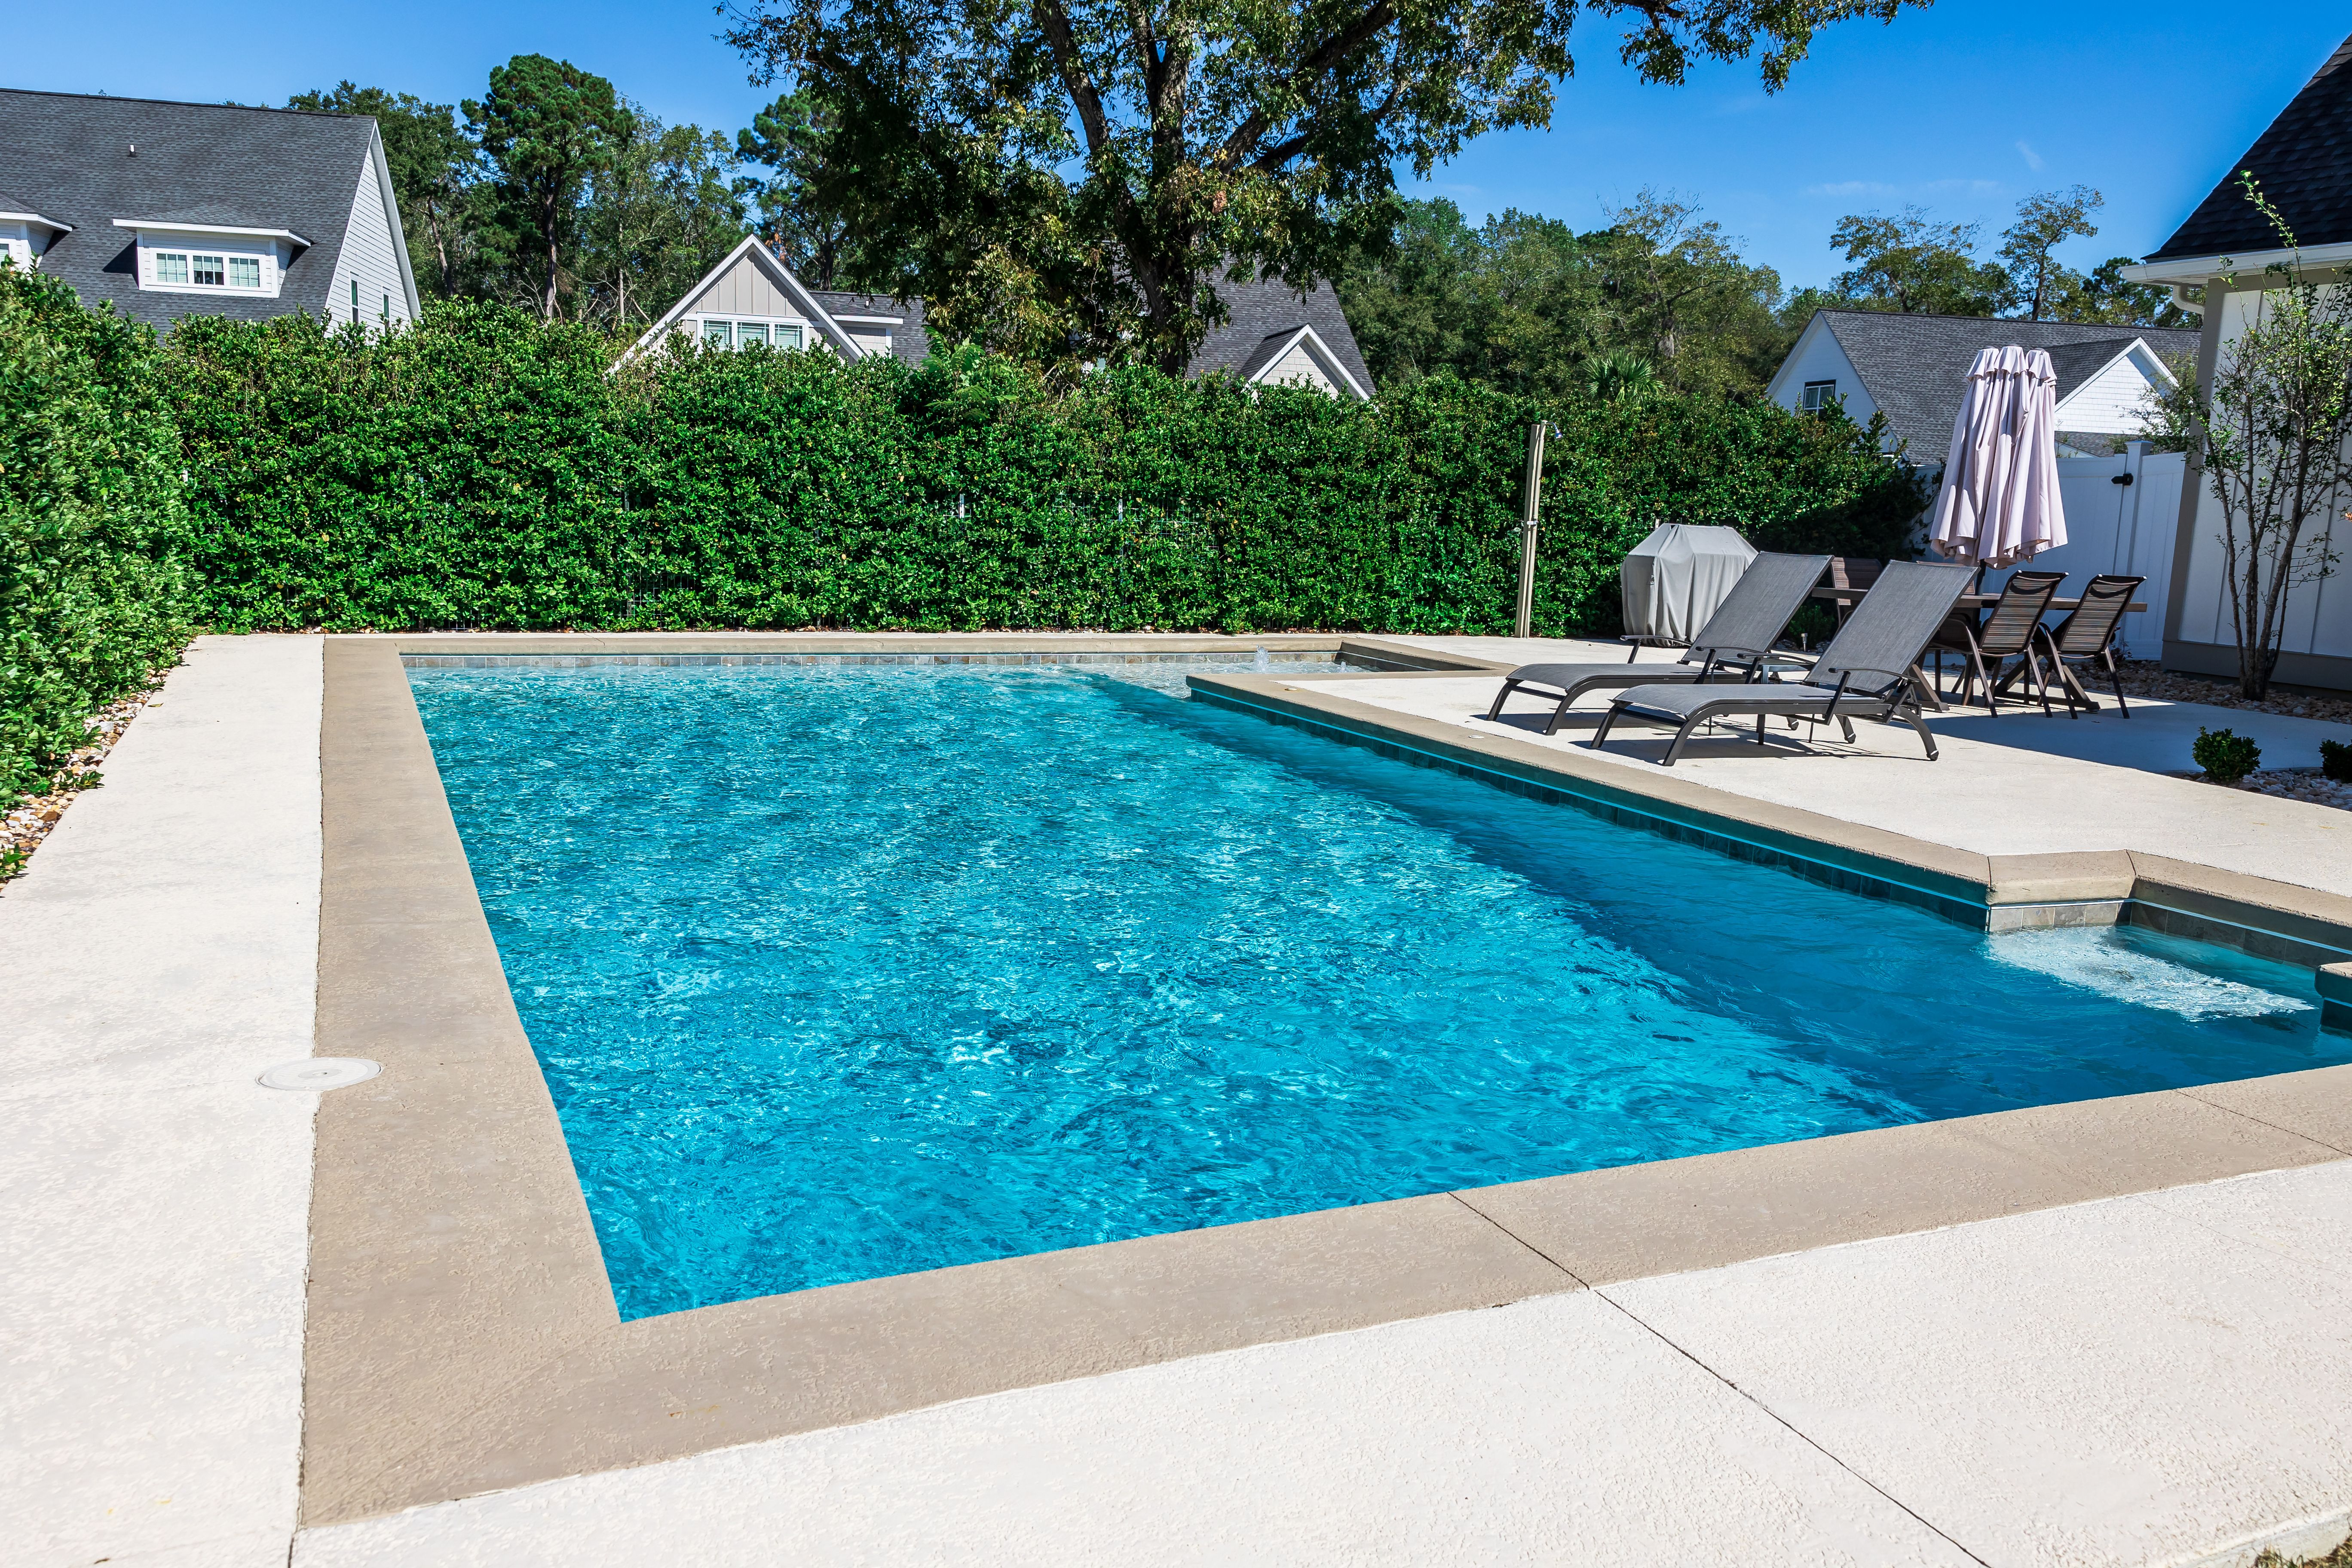
DIY pool tile blasting can be a rewarding project if done correctly. It not only enhances the appearance of your pool but also prolongs the life of the tiles by preventing further damage caused by accumulated debris. Understanding the nuances of the process is crucial in achieving the best results.
Gathering the Right Equipment
Before you begin, it's important to gather all the necessary tools and materials for the job. Here is a list of essential items you'll need:
- Blasting Equipment: A portable sandblaster or soda blaster is commonly used for pool tile cleaning.
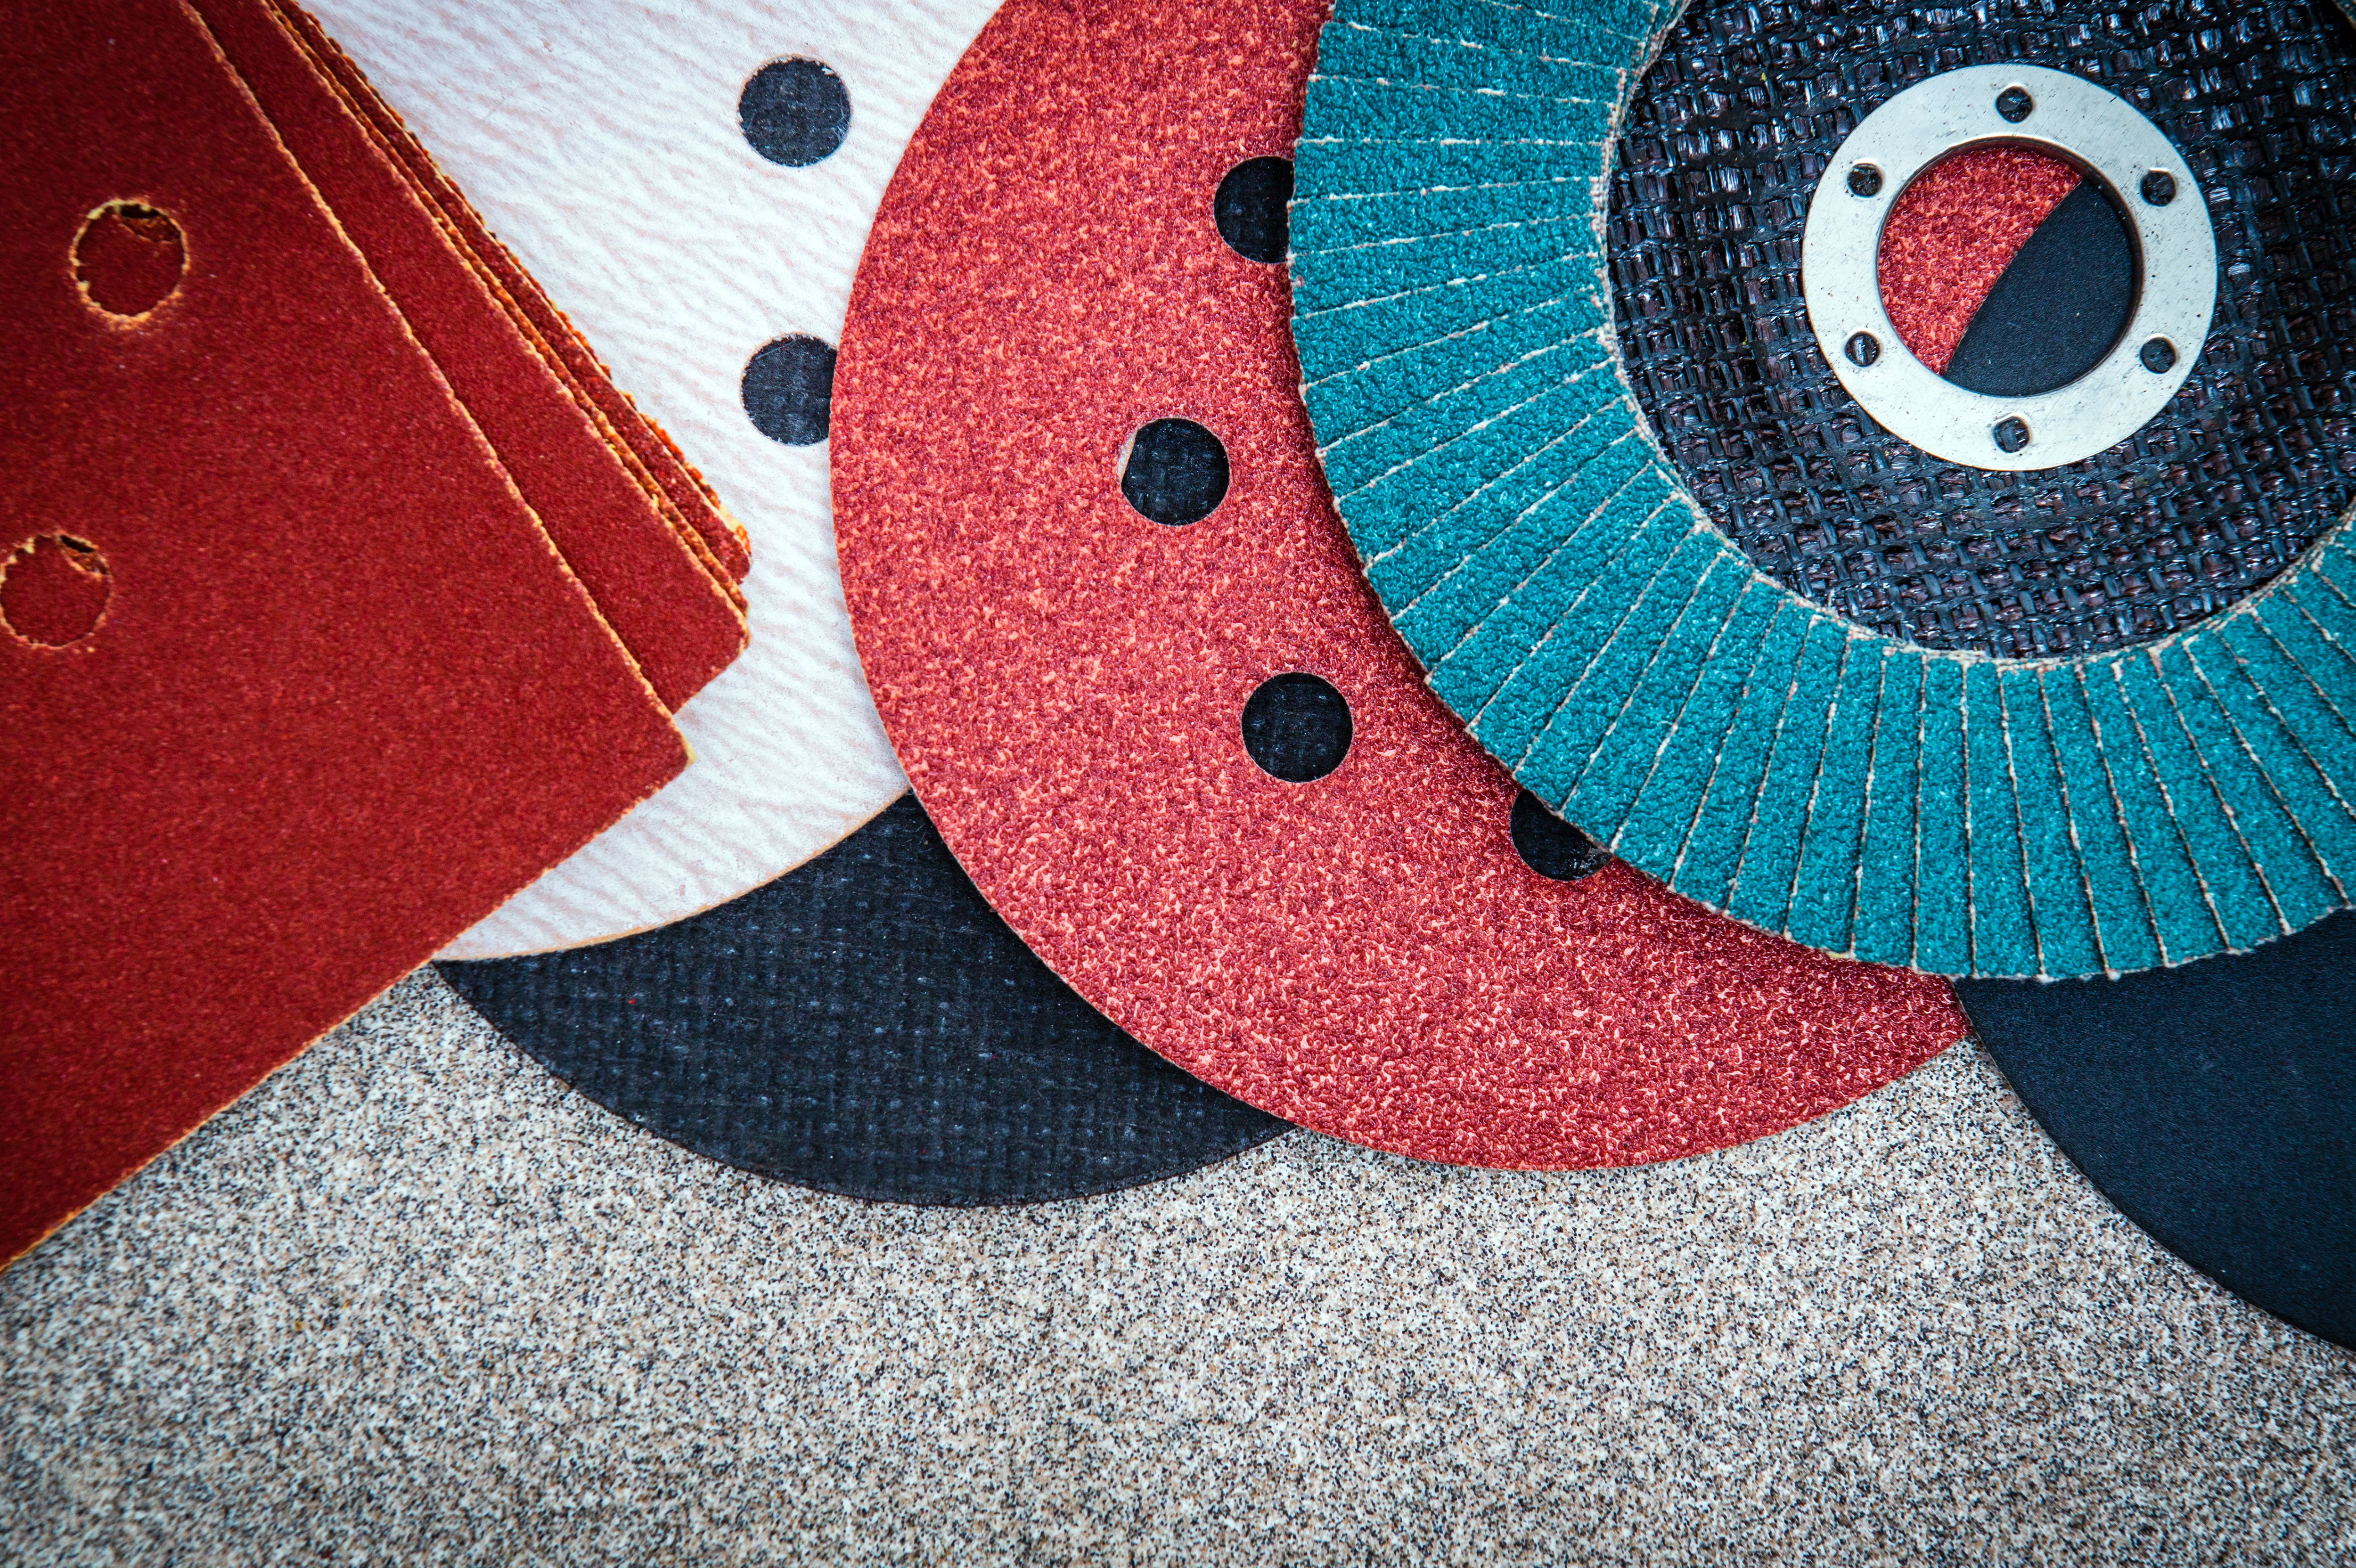
- Abrasive Material: Depending on your preference, you can use sand, glass beads, or soda media.
- Protective Gear: Ensure you have goggles, gloves, and a mask to protect yourself from debris and dust.
- Water Source: Access to a hose or water supply is necessary for rinsing the tiles after blasting.
Having the right equipment will make the process smoother and more efficient. Investing in quality gear can also enhance safety and prevent potential mishaps during the cleaning process.
Selecting the Appropriate Abrasive Media
The choice of abrasive media can significantly impact the outcome of your tile blasting project. Sand is a traditional option known for its effectiveness, but it can be harsh on certain types of tiles. Glass beads offer a gentler alternative, while soda blasting is ideal for delicate surfaces as it minimizes the risk of damage.
Preparing Your Pool Area
Preparation is key to a successful DIY pool tile blasting project. Start by draining the pool to expose the tiles that need cleaning. Cover any pool equipment and landscaping near the blasting area to protect them from debris. It's also wise to notify neighbors about your project, as it may generate some noise and dust.
Ensuring that the working area is well-prepared will help you focus on the task at hand without unnecessary distractions or concerns about potential damage to surrounding areas.
Executing the Tile Blasting
Once everything is set, it's time to start blasting. Begin by testing a small, inconspicuous area to adjust the pressure and ensure you won't damage the tiles. Work systematically across the tiles, maintaining a consistent distance and motion to achieve an even clean.
Be patient and take breaks as needed, especially if you're working on a larger pool. Consistency and attention to detail are crucial for ensuring that all tiles are uniformly cleaned.
Post-Blasting Cleanup and Maintenance
After completing the blasting process, thoroughly rinse the tiles with water to remove any remaining abrasive media and debris. Check for any tiles that may need additional attention or repairs due to prior damage.
Regular maintenance can prolong the results of your hard work. Consider scheduling periodic cleanings and inspections to keep your pool tiles in optimal condition.
Knowing When to Call a Professional
While DIY pool tile blasting can be cost-effective, there are situations where professional intervention might be necessary. If you encounter stubborn deposits that don't respond to blasting or notice significant tile damage during cleaning, it's best to consult with a professional.
Ultimately, understanding your limits and recognizing when expert help is needed can save you time and prevent further damage, ensuring your pool remains a beautiful and enjoyable part of your home.